
From STL File to Display Case
Commissioning a custom statue or diorama is an exciting process, but if you’ve never ordered one before, you might wonder what happens behind the scenes.
Here is a step-by-step look at how we take your favorite 3D file and turn it into a physical masterpiece for your collection.
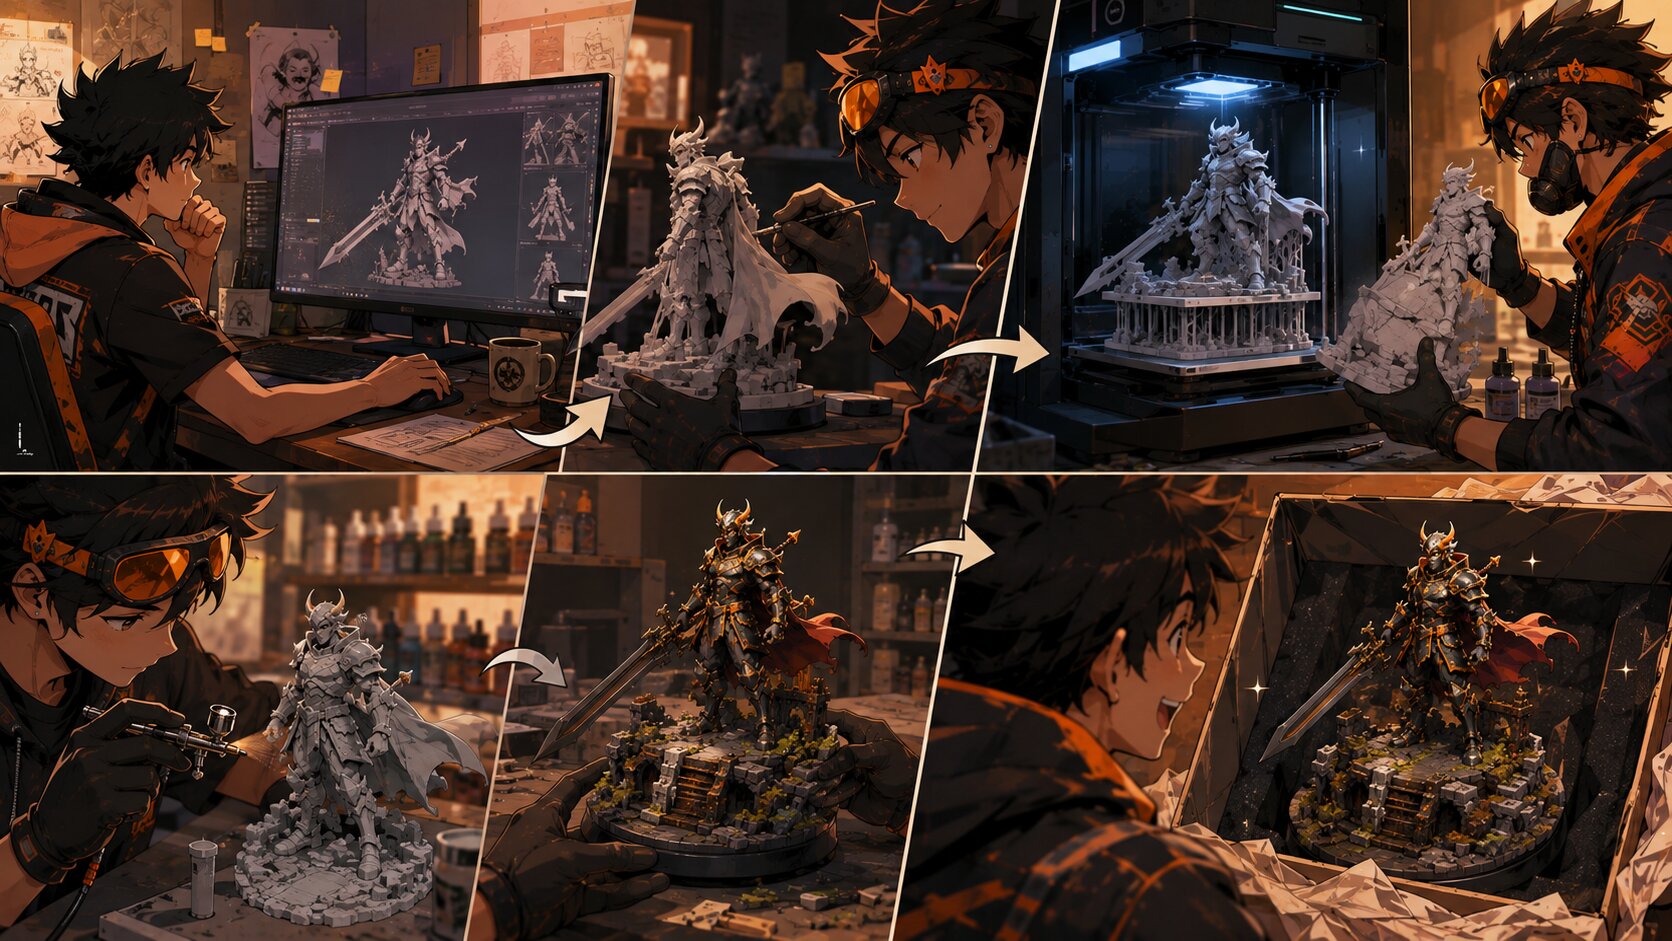
Step 1: File Analysis & Scale Confirmation
Every commission starts with your digital file (.STL or .OBJ). We analyze the geometry to ensure structural stability, plan the split lines for printing, and confirm the exact scale and dimensions with you.
Step 2: Precision Printing
Using tuned PLA settings on our Bambu Lab and Creality K1-series machines, we execute the print. We optimize wall thickness and infill densities so your statue feels substantial and sturdy in the hand without risking heat warping or layer separation.
Step 3: Prep, Sanding & Assembly
This is where the bulk of the hours go. Support materials are removed, seams are filled, and the model is sanded through multiple grit levels until smooth. Parts are keyed and pinned for strength.
Step 4: Paint & Special Effects
Using a combination of airbrushing for smooth color gradients and fine brushwork for crisp detail, we bring the character to life. Whether you want subtle weathering, glowing power effects (OSL), or high-shine metallic accents like chrome, this is where personality is infused into the piece.
Step 5: Sealing & Safe Delivery
A protective matte or gloss clear-coat seals the paintwork against dust and UV light. Photos are sent for your final approval, and once approved, your piece is securely packed in multi-layer foam wrapping for safe shipping.
Share on Social media
Leave a Reply
You must be logged in to post a comment.